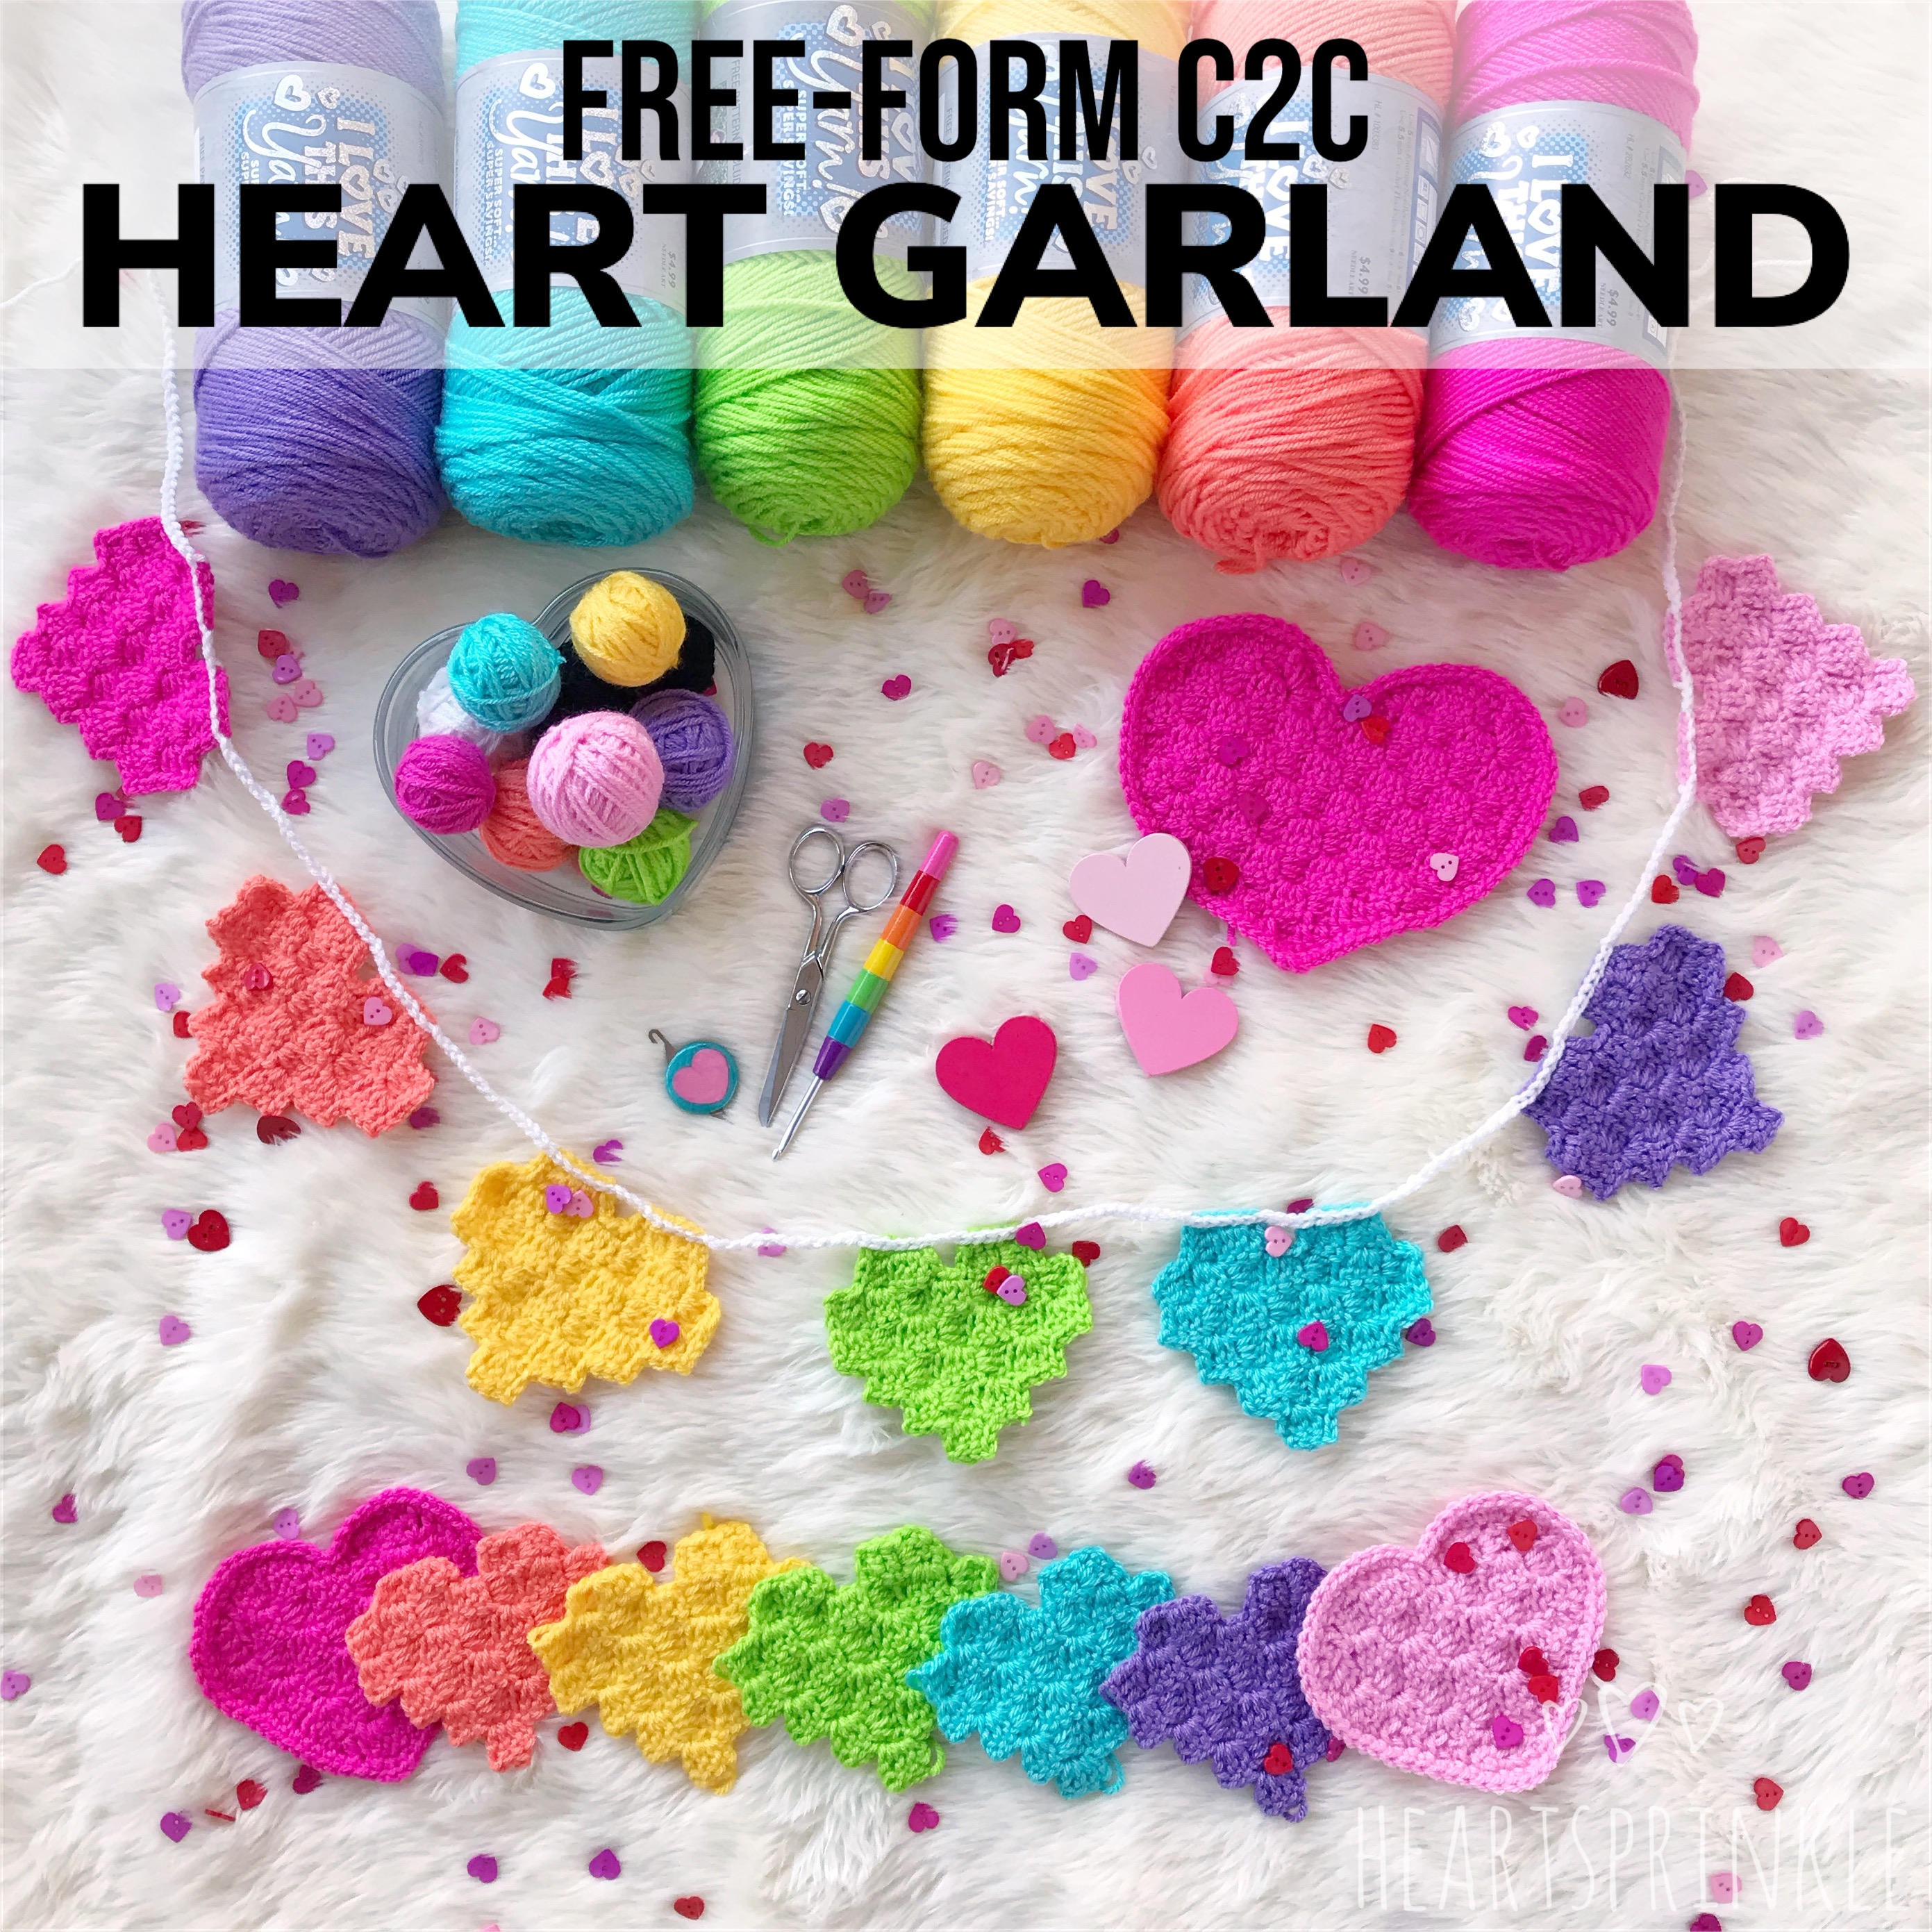
I have been obsessed with making these free-form c2c patterns! I hope you enjoy this heart garland. It is perfect for Valentines Day, or any occasion. I am using mine to decorate my daughters bedroom. There are so many uses for a heart garland…especially if you love hearts as much as I do.
WE ARE NOW ON PATREON (CLICK HERE)! PLEASE CHECK IT OUT!
I have made two versions of the heart garland. One is in pixel form and the other has clean edges. These two give your piece a different look. CLICK HERE to learn how to crochet the edges of your Free-Form C2C.
CLICK HERE for the free Small Heart FFC2C Graph PDF OF click download below.
Notes:
- You will need to know the Free-Form C2C technique. CLICK HERE to see the blog post.
- The red block on the graph is a dropped block. Use the technique called (Special ADD ON)
- We are technically starting on Row 2 going from left to right.
- Pattern is written indicating number of colors per row. Letters for the color block and number by letters for the number of blocks.
- Numbers in parenthesis at the end of each row are the total number of blocks in that row.
- At the beginning of the row, it will indicate if your first block will need to be and increase block or a decrease block.
- First we will make the hearts, then work on the edges, then assemble on a crochet line to make the garland.
Skill Level-Intermediate
Materials: (Click names to check them out!)
- Small Heart FFC2C Graph
- Crochet Hook: Heartsprinkle Rainbow Hook G/4.00mm
Other hook brand recommended-Clover Amour 4.00mm (CLICK HERE) - Yarn: Worsted Weight Acrylic
Other yarn brands recommended- Stylecraft Special DK , Stylecraft Special Aran, Paintbox Yarns Simply DK, Paintbox Yarns Simply Aran - Scissors
- Darning Needle
Measurements:
Pixel: approximately 4×4.5 inches
Clean: approximately 4.5×5 inches
Gauge:
3×3 blocks=approximately 1.75×1.75 inches
Abbreviations:
B-Block in whatever color you like (example is in pink)
number next to letter-number of blocks to make
INC-increase block
DEC-decrease block
dc-double crochet
ch/s-chain/chains
sl st-slip stitch
st/sts-stitch/stitches
SQ-square/block
sp-space
yo-yarn over
Small Heart
Check out the detailed step by step pictorial HERE!
Row 2: B1, ADD ON (1x)B. (2)
Row 3: INC, B3. (3)
Row 4: DEC, B2, sl st into last SQ
Row 5: INC, B3, *We are dropping the last block and adding it at the end of Row 6. Please check out the “Special ADD ON” technique.
Row 6: DEC, B3, SP ADD ON (1x)B for the last block of Row 5. DEC one block, this makes the last block fro Row 6. (4)
Row 7: Continue like you are DEC first block by ch 2, 3 DC in the dc sp, B4. (4)
Row 8: DEC, B4. (4)
Row 9: DEC, B4, turn, sl st across the tops of dc to finish the look. If you want to leave the heart the way it is, fasten off. If you want a border, continue to border section.
Border:

CLICK HERE for the C2C Border Tutorial!
If you want to have the pixel border, continue to with the pixel border technique.
If you want to have the clean edge border, continue with the clean edge border technique.
WE ARE NOW ON PATREON (CLICK HERE)! PLEASE CHECK IT OUT!
Assembling Your Garland
To assemble your garland, arrange hearts in the order you’d like them from right to left. For mine all I did was chain stitch them together.
Starting with a slip knot, I made 30 chains, and slip stitched the tops of the hearts. (6 slip stitches across top, ch 3, 6 slip stitches across top). I also chained 15 in between each heart, and ended with another 30 chains on the other end.

